Abrasive selection is one of the most important decisions in on-site valve seat grinding and lapping. An abrasive that is too aggressive may remove more material than necessary, change the sealing geometry, or create deep marks that require additional finishing. An abrasive that is too fine may polish the surface without removing the original scoring, corrosion, or local damage.
The objective is not to use the fastest-cutting abrasive. The objective is to remove the confirmed defect with the minimum practical material removal, then produce a clean and consistent sealing surface that is ready for inspection, assembly, and pressure testing.
Before choosing an abrasive, clean the sealing surface and inspect it under adequate lighting. Oil, old compound, rust particles, and loose deposits can hide the actual condition of the seat. The maintenance team should identify whether the main problem is light oxidation, circumferential scoring, isolated pitting, uneven contact, embedded debris, or damage that may require machining rather than lapping.
The valve type, seat geometry, base material, hard-facing layer, previous repair history, and required inspection standard should also be reviewed. If the sealing surface has cracks, serious deformation, uncertain coating thickness, or damage beyond the approved repair allowance, grinding should stop until the repair method is confirmed.
The first stage is used only when visible defects cannot be removed by a finer process. Select the least aggressive abrasive that can address the confirmed damage. Keep the tool centered, maintain stable contact, and inspect the surface at short intervals. Continuing an aggressive stage after the defect has disappeared adds risk without improving the sealing result.
After the main defect is removed, change to a cleaner and finer abrasive to remove the marks left by the first stage. The seat, grinding plate, lapping head, holders, and nearby work area should be cleaned before the new abrasive is introduced. This stage should produce an even surface pattern without isolated deep scratches.
Final lapping is a controlled finishing step, not a substitute for defect removal. Use clean consumables, light and stable contact, and short inspection intervals. Excess pressure, excessive compound, or long uninterrupted runs can generate heat, load the abrasive, and make it harder to judge the real surface condition.
A single coarse particle carried into the final stage can create a new scratch across an otherwise finished sealing band. Separate cloths, brushes, containers, and applicators should be used for different abrasive stages. Used compound should not be returned to its original container, and lapping plates should be inspected for embedded particles before reuse.
Good housekeeping is especially important during shutdown maintenance, where several valves may be repaired in the same work area. Clear labeling and simple tool-control rules help prevent the wrong compound or a contaminated accessory from being used on the next valve.
Grinding time alone does not confirm repair quality. Progress should be evaluated by the visible defect condition, the consistency of the surface pattern, the contact band, and the approved inspection method. Stop the machine before inspection, remove loose abrasive, and examine the full circumference of the sealing surface.
If one area changes faster than the rest, check centering, tool condition, alignment, and contact pressure before continuing. Repeatedly adding abrasive without correcting an uneven setup can increase material removal while leaving the original contact problem unresolved.
Starting with an aggressive abrasive before the defect is fully assessed.
Skipping the intermediate stage and trying to remove coarse marks during final lapping.
Mixing compounds, applicators, or cleaning cloths between stages.
Using excessive compound, which can reduce control and hide the contact condition.
Continuing to grind after the required defect has been removed.
Ignoring damaged, uneven, or contaminated lapping plates and grinding heads.
After final lapping, remove all abrasive residue from the valve body, seat, disc, and surrounding cavities. Confirm that the sealing surfaces are clean and free from loose particles. Check the contact pattern using the approved workshop method, and record the repair condition before assembly.
Grinding and lapping prepare the sealing surface, but they do not replace final quality verification. Correct assembly, suitable test preparation, and a controlled valve pressure test are still required to confirm the repair result. The test method and acceptance criteria should follow the applicable valve documentation, plant procedure, and inspection standard.
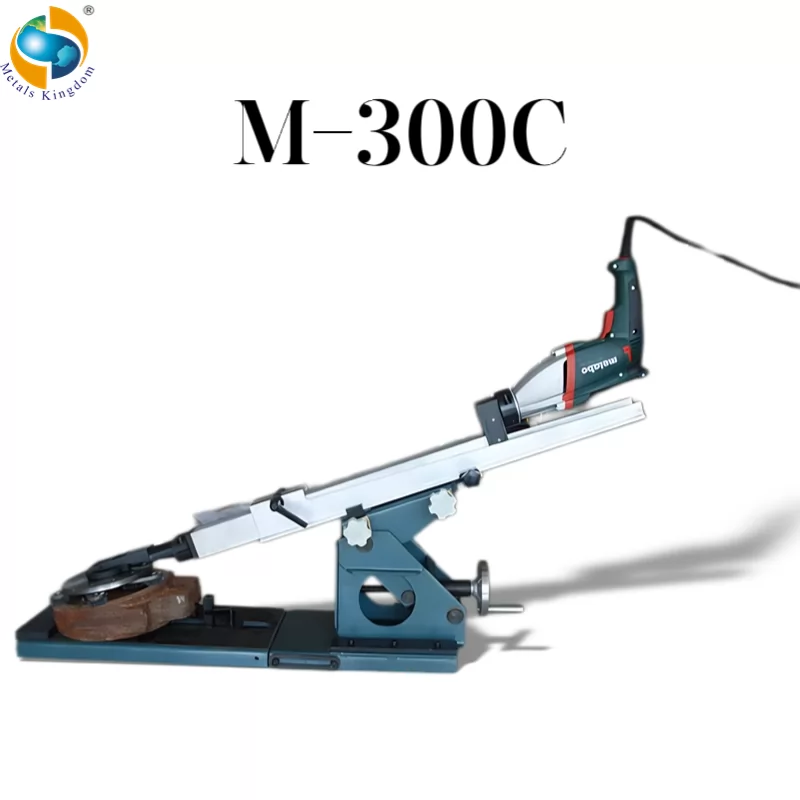
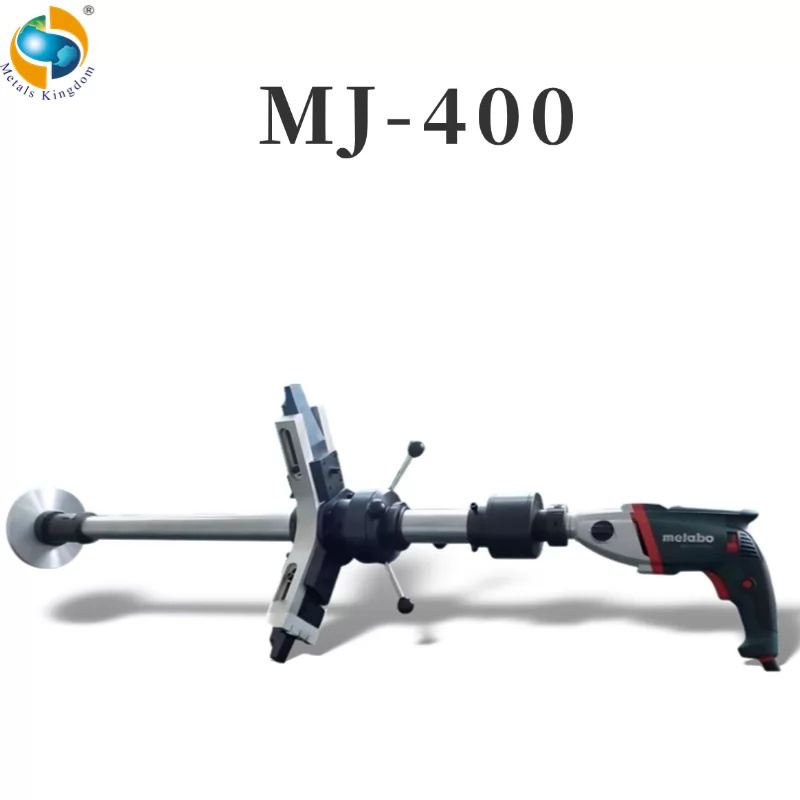
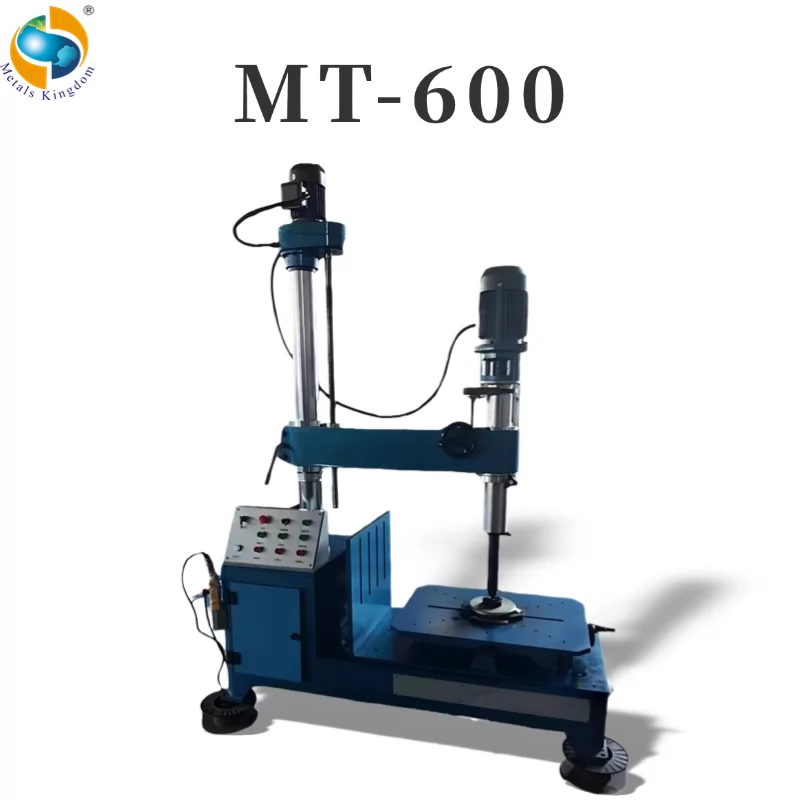
For on-site work, abrasive planning should be completed before the valve is opened. The team should prepare compatible grinding or lapping accessories, clearly separated abrasive stages, clean application tools, inspection materials, and spare consumables. A portable valve grinding machine is most effective when the complete repair process - setup, abrasive control, cleaning, inspection, and testing - is planned as one workflow.
Metals Kingdom supplies portable valve grinding and lapping equipment for industrial maintenance applications. For equipment selection, maintenance teams should provide the valve type, nominal size, sealing-surface condition, access limitations, and available site services so that the required machine configuration and accessories can be reviewed.
Author: Peter Yang
Copyright © Metals Kingdom Industry Limited All Rights Reserved